


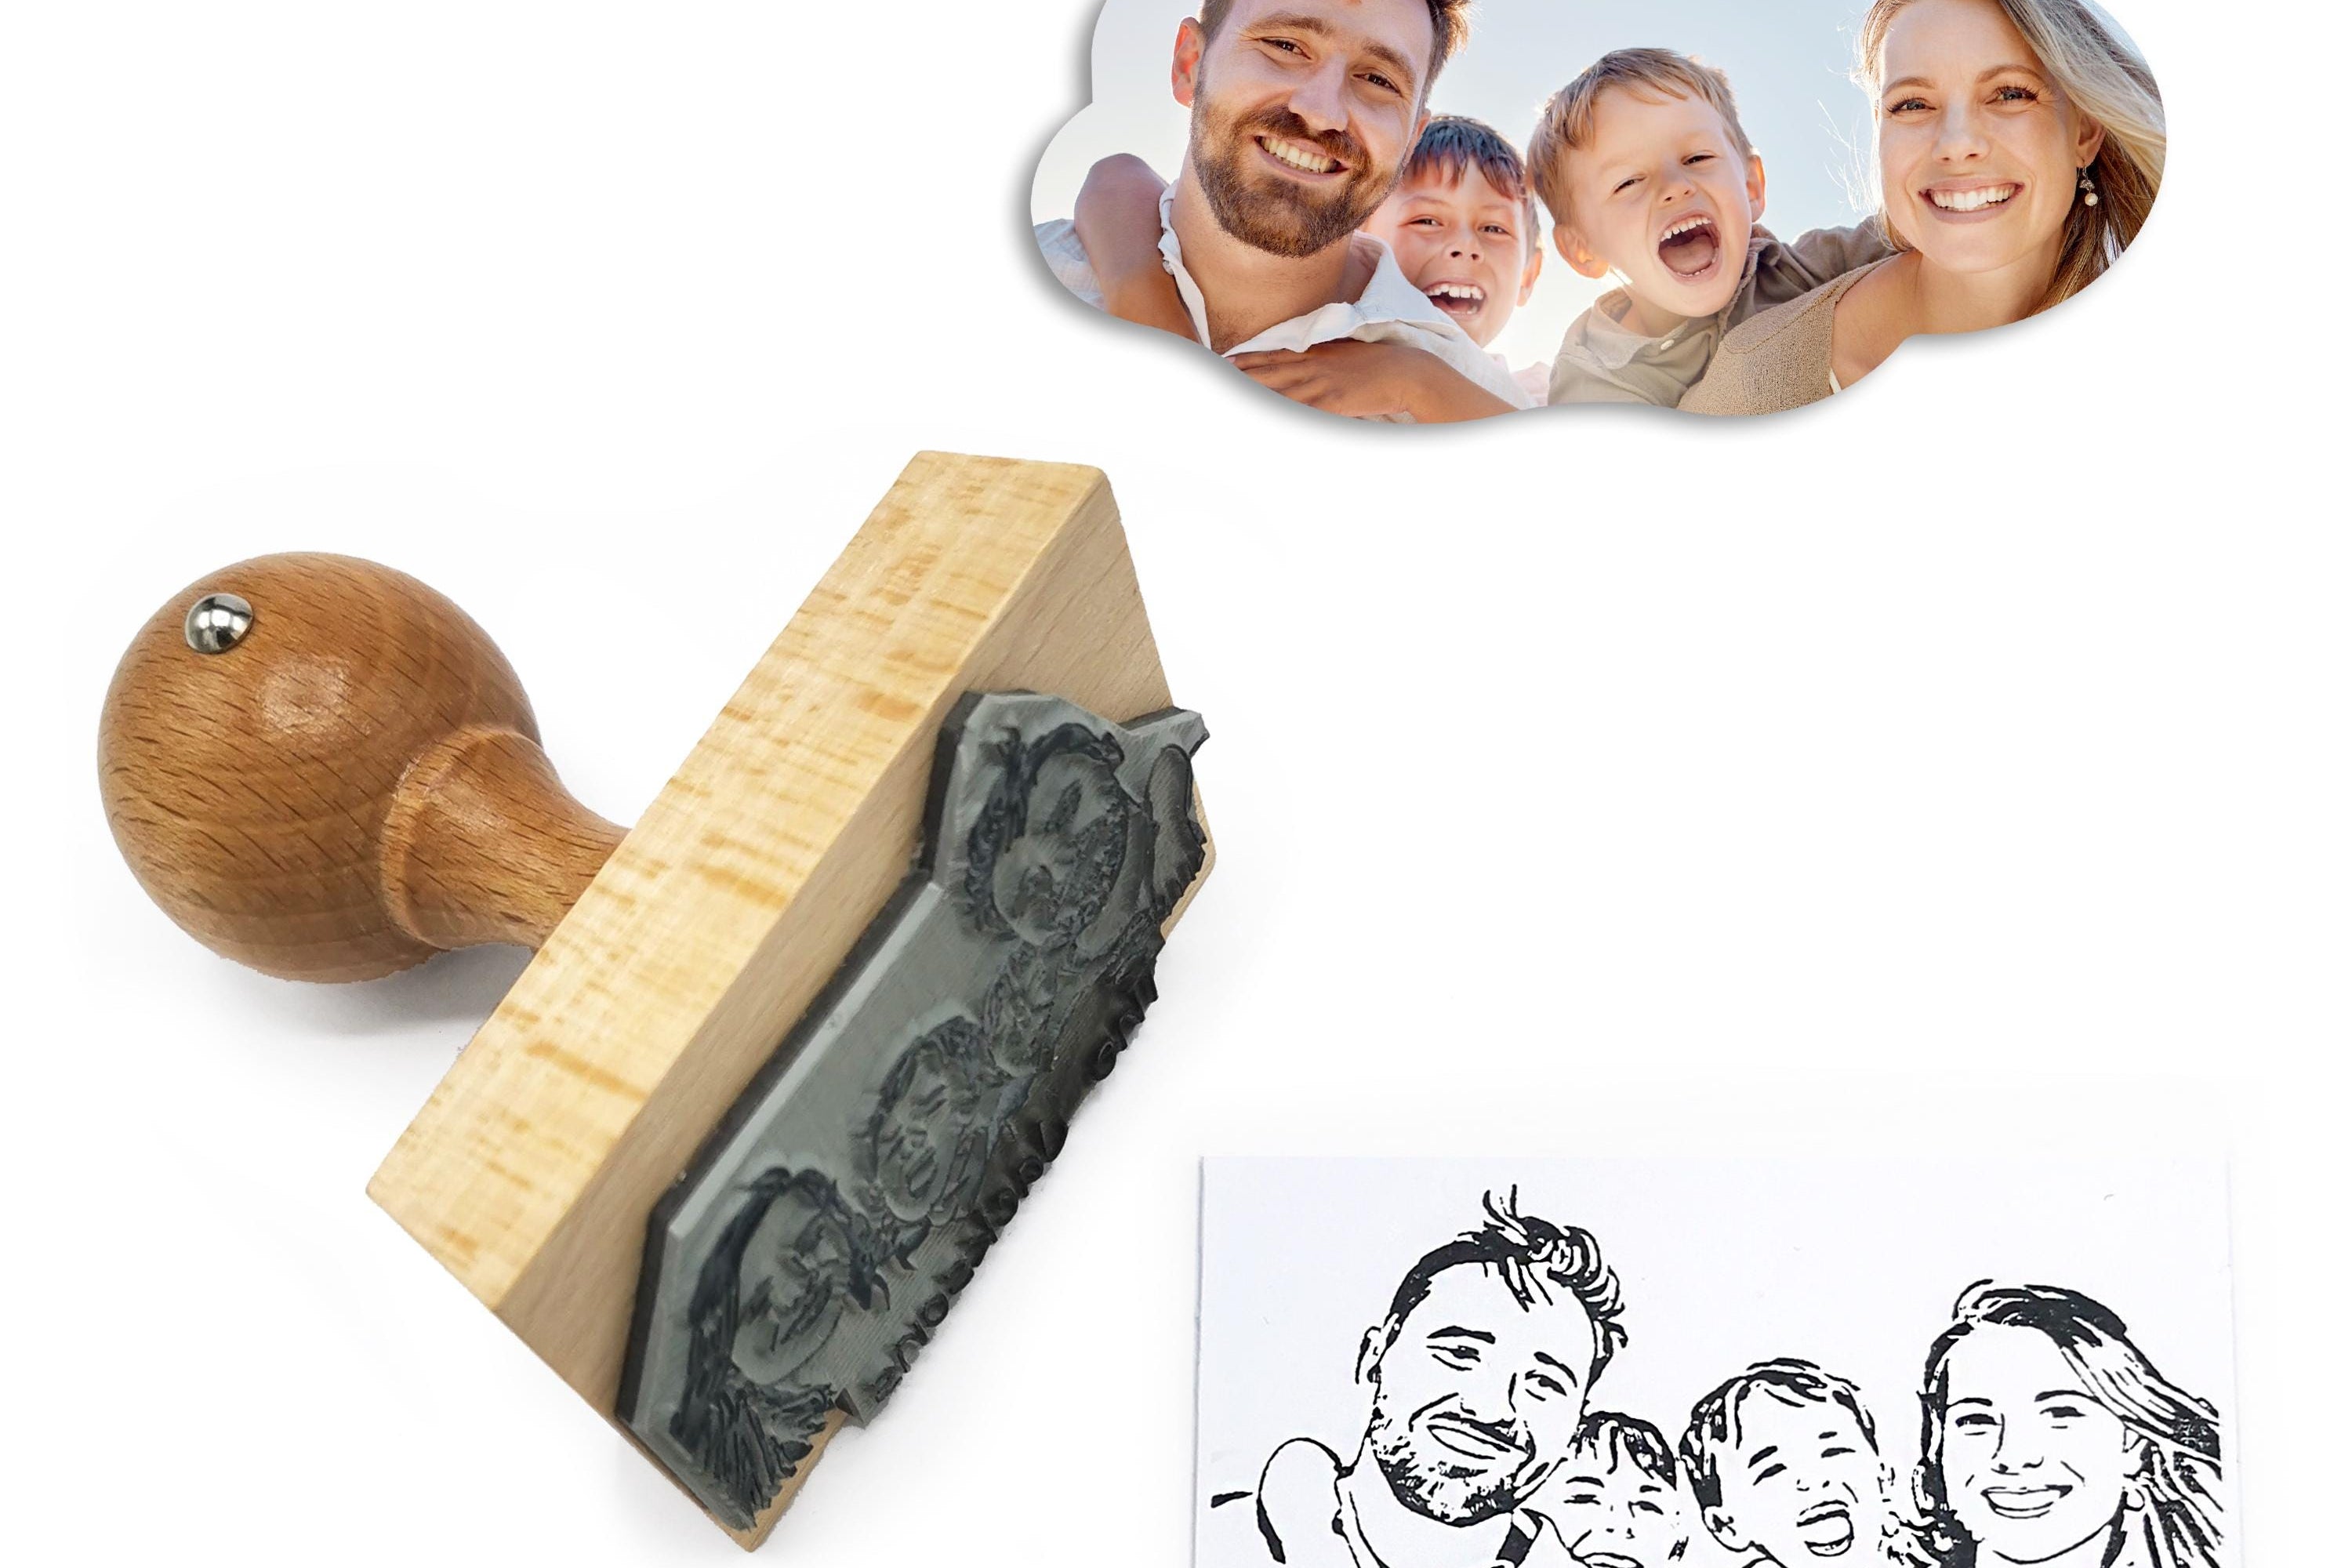


You've designed the perfect patch. The artwork is sharp, the colours are right, the size suits the garment. Then comes the question that catches almost every first-time buyer out: how should it actually attach?
Backing sounds like a small detail. It isn't. It decides whether your patch survives a year of weekly washes, whether you can swap it across jackets, and whether you'll need a tailor or a household iron to apply it. Get the backing wrong and an otherwise lovely patch ends up in the bin within months.
We've finished over 14,500 patches from our Coventry workshop since 2020, and the three backings below cover roughly 95% of the orders we ship. Each has a sweet spot, and each has a use case it really shouldn't be near. Here's how to choose.
Quick Answer (TL;DR)
If you only have thirty seconds, here it is in a table.
| Backing | Durability | Ease | Cost | Removable? | Best For |
|---|---|---|---|---|---|
| Iron-On | Medium (15-25 washes) | Very easy (30 seconds) | Lowest | No | Decorative gifts, light-wash garments, beginners |
| Sew-On | Highest (lifetime) | Hardest (10-20 min or tailor) | Mid | No | Workwear, scout uniforms, jackets you'll keep |
| Velcro | High (1,000+ swap cycles) | Moderate (one-time loop install) | Highest | Yes | Tactical kit, airsoft, morale-patch collectors |
The short version: pick sew-on if it lives on something you wash hard and keep for years, iron-on if it's a gift or a decorative add-on you don't want to faff with, and velcro if you actually want to swap patches around.
The longer version is below, with the trade-offs we wish more buyers knew before they ordered.
Iron-On Patches: The Easy Choice for Most Crafters
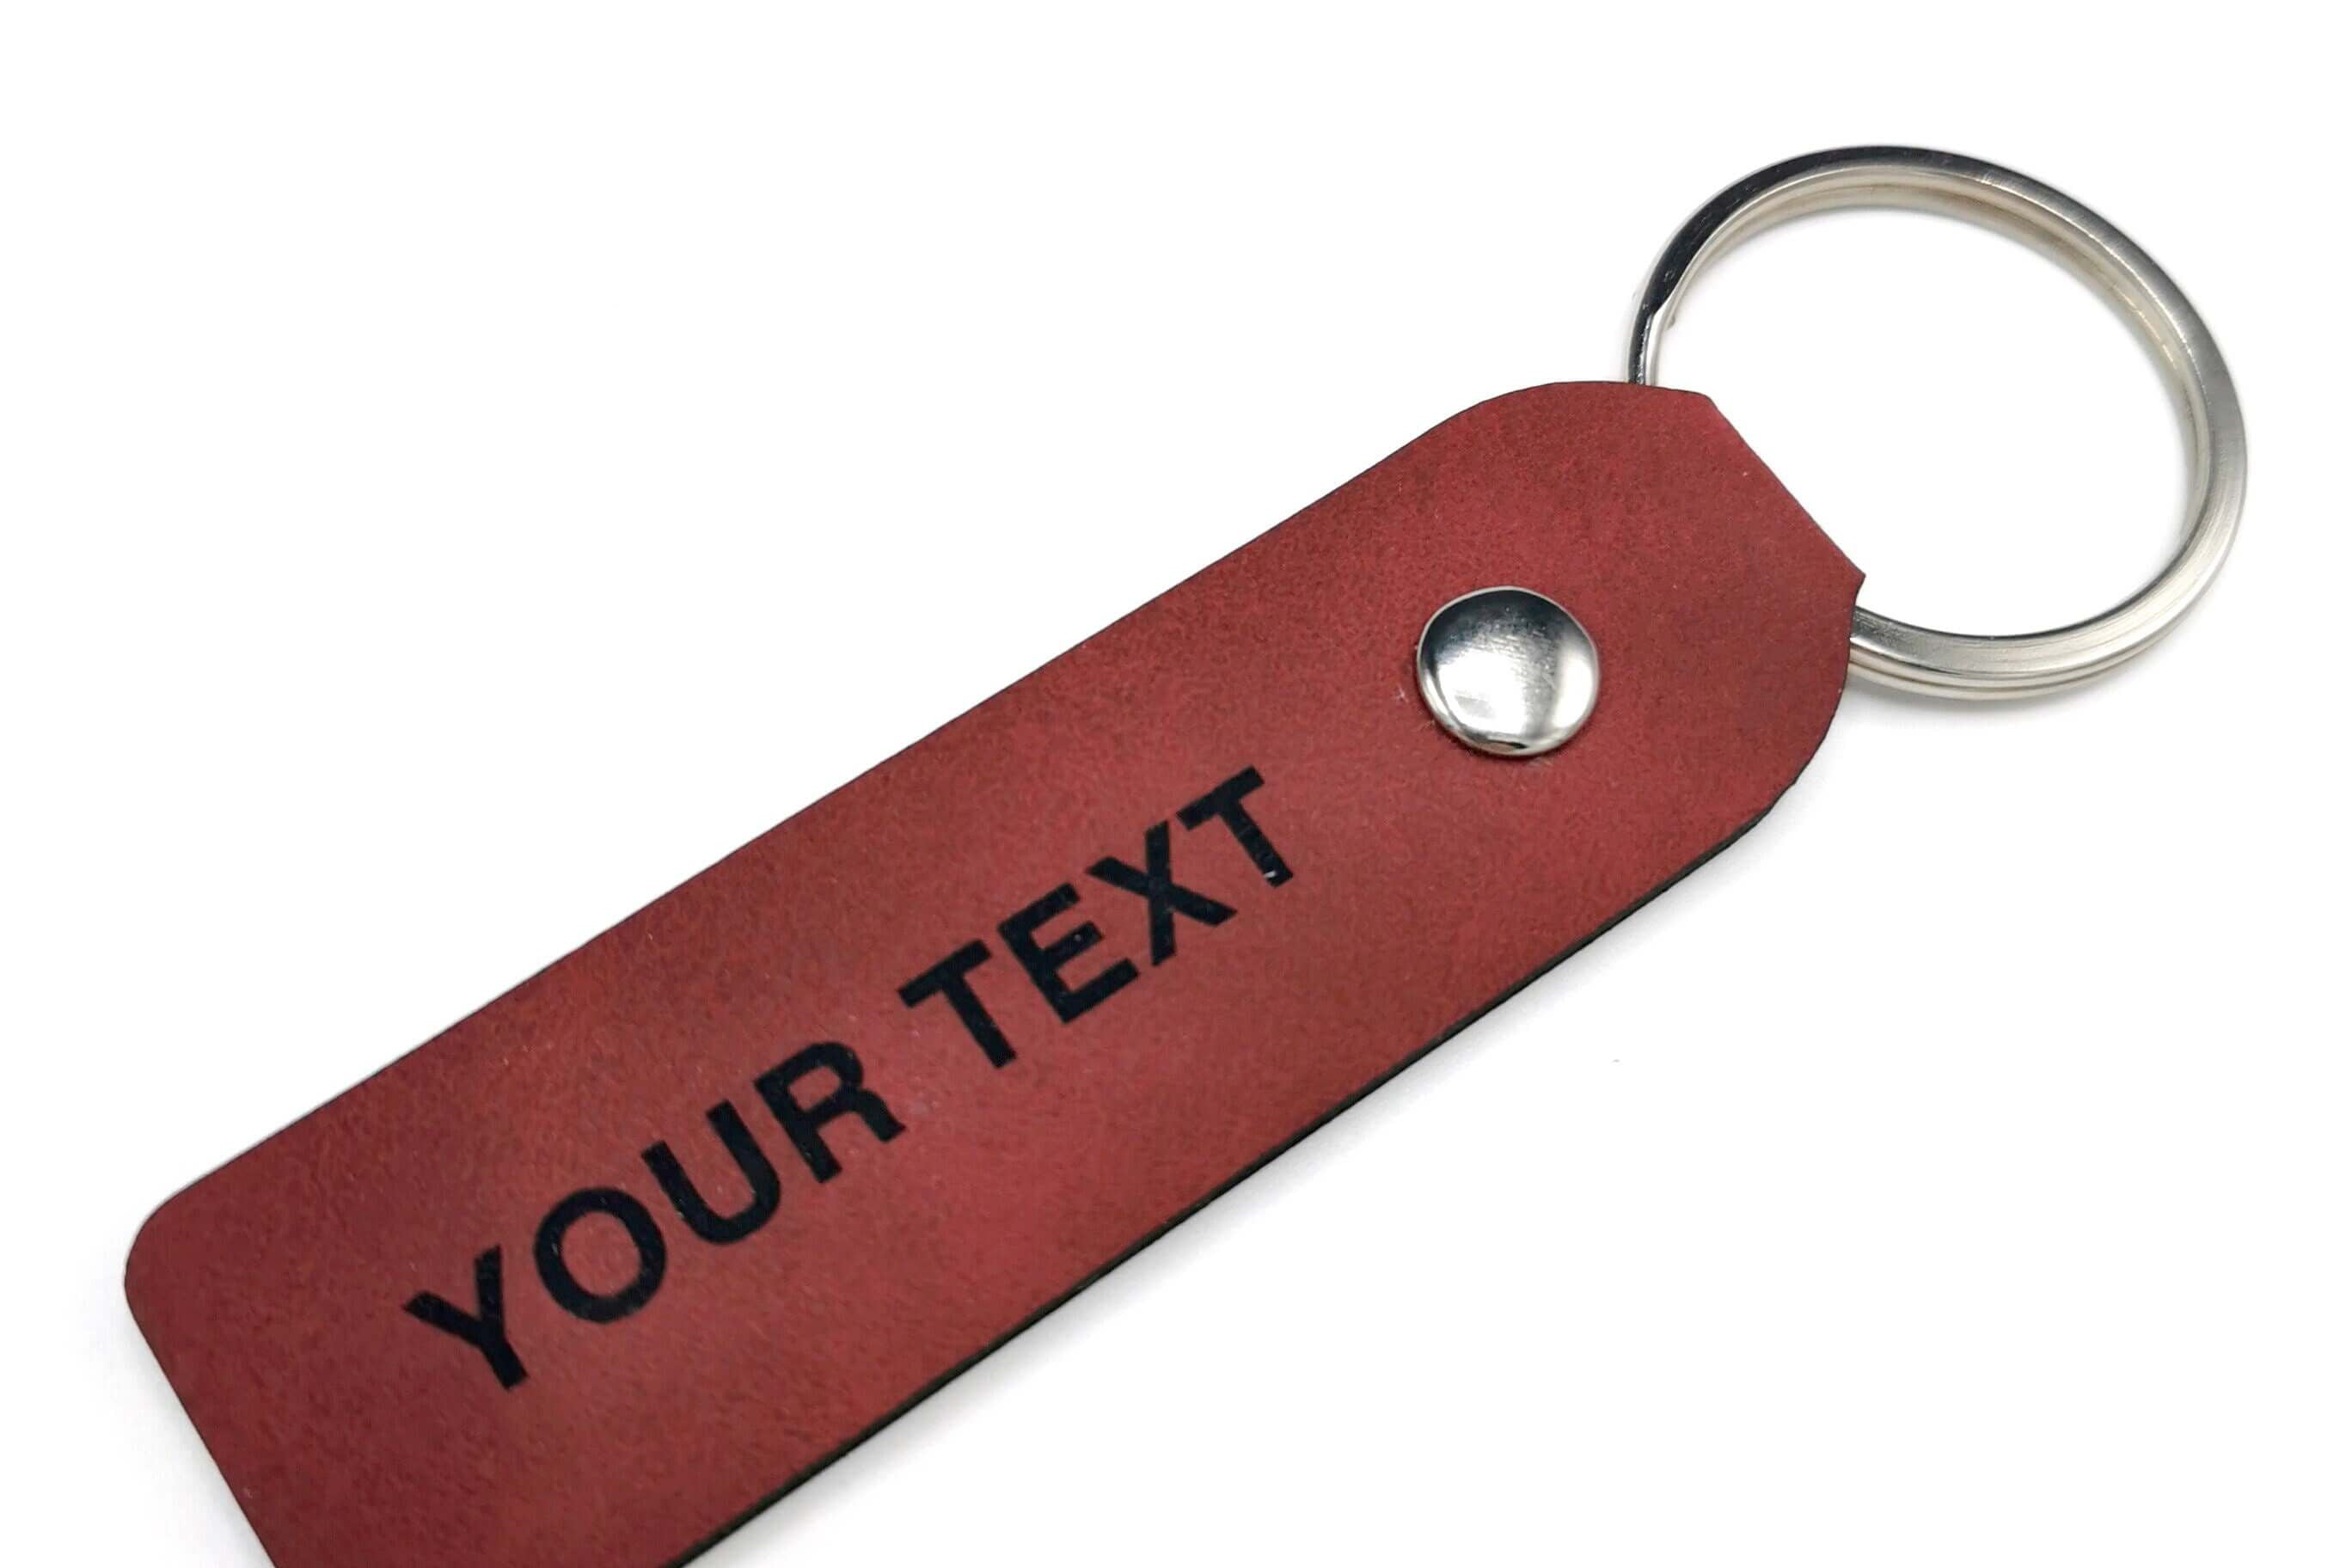
An iron-on patch has a thin layer of heat-activated adhesive bonded to the reverse. You position the patch, cover it with a tea towel or pressing cloth, press a household iron on top for around 30 seconds, and the adhesive melts into the fabric fibres. Done.
It's the lowest-effort backing we offer, and for the right job it's also the cheapest finish. No sewing skill, no tailor, no equipment beyond an iron you already own. The whole application takes less time than making a cup of tea.
The trade-off is durability. Iron-on works beautifully on cotton, polycotton, and most denim — anything that tolerates 200°C and has a textured weave for the adhesive to grip. It struggles on smooth synthetics like nylon and won't bond to leather at all (the heat damages both). On a typical cotton t-shirt or canvas tote you can expect 15-25 wash cycles before the edges start to lift, ideally washed at 30°C and turned inside out.
So iron-on earns its keep on decorative pieces, gifts, fast prototypes, and anything that won't see weekly hot washes. Children's backpacks, fabric tote bags, holiday t-shirts, festival jackets. If you'd be sad to see it go in two years, this probably isn't the backing for you — but for the other 80% of patch projects, it's the obvious pick.
Tip: if you love the ease of iron-on but want it to last longer, iron it on first, then add a few corner stitches by hand. It's the hybrid most experienced patch users settle into.
→ Browse our iron-on custom patches
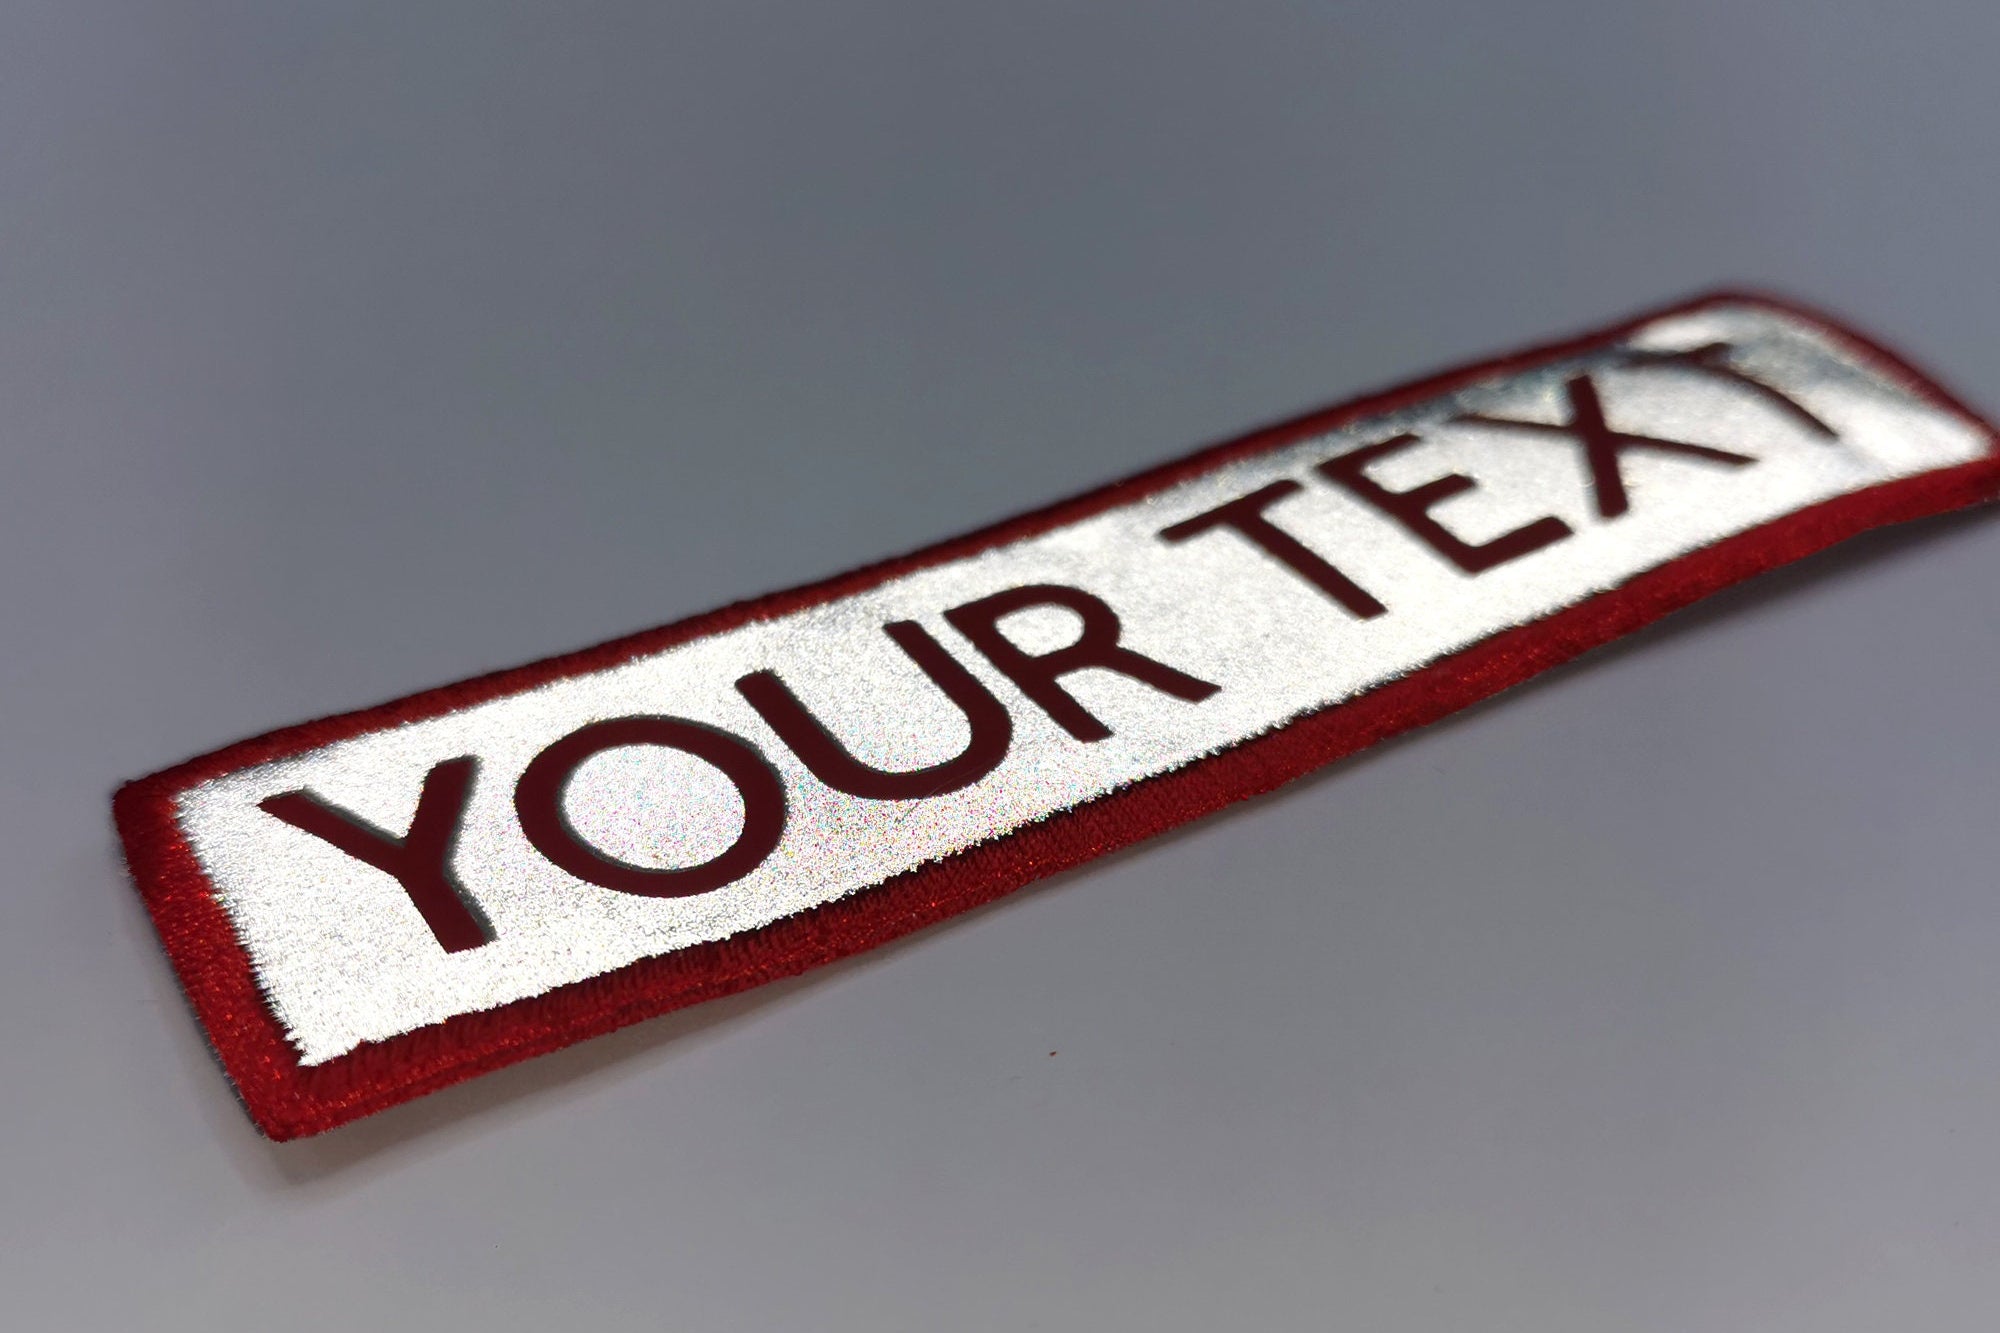
Sew-On Patches: The Forever Solution
A sew-on patch has nothing on the back. Just a clean, sealed fabric edge ready to be stitched onto your garment by hand or machine. There's no adhesive, no heat layer, no shortcut.
What you get in return is the longest-lasting finish a patch can have. A properly sewn patch outlasts the garment underneath it — we have customers who've moved the same patch onto a second jacket because the original wore through. There's no peeling, no edge lift, no maximum wash count. Industrial tumble-dry, bleach wash, sea salt, motorcycle rain — none of it will shift a sew-on patch.
The catch is the application. Sewing a patch by hand takes 10-20 minutes per piece using a blanket stitch or whip stitch, and you'll want a thread that either matches the patch border (for an invisible look) or contrasts deliberately. If you don't sew, most high-street tailors will attach a patch for £3-5 each, and a sewing machine with a free-arm attachment handles them in a couple of minutes flat.
Sew-on is the right choice for anything that lives a hard life. Workwear aprons, scout and cadet uniforms, military and emergency-services kit, motorcycle jackets, vintage denim you intend to keep for a decade. Anywhere the patch needs to look professional and behave itself indefinitely.
It also reads more "made" than iron-on. The visible stitching around the edge is a quiet quality signal — most heritage uniforms and military insignia use sew-on for exactly that reason.
→ Browse our sew-on custom patches
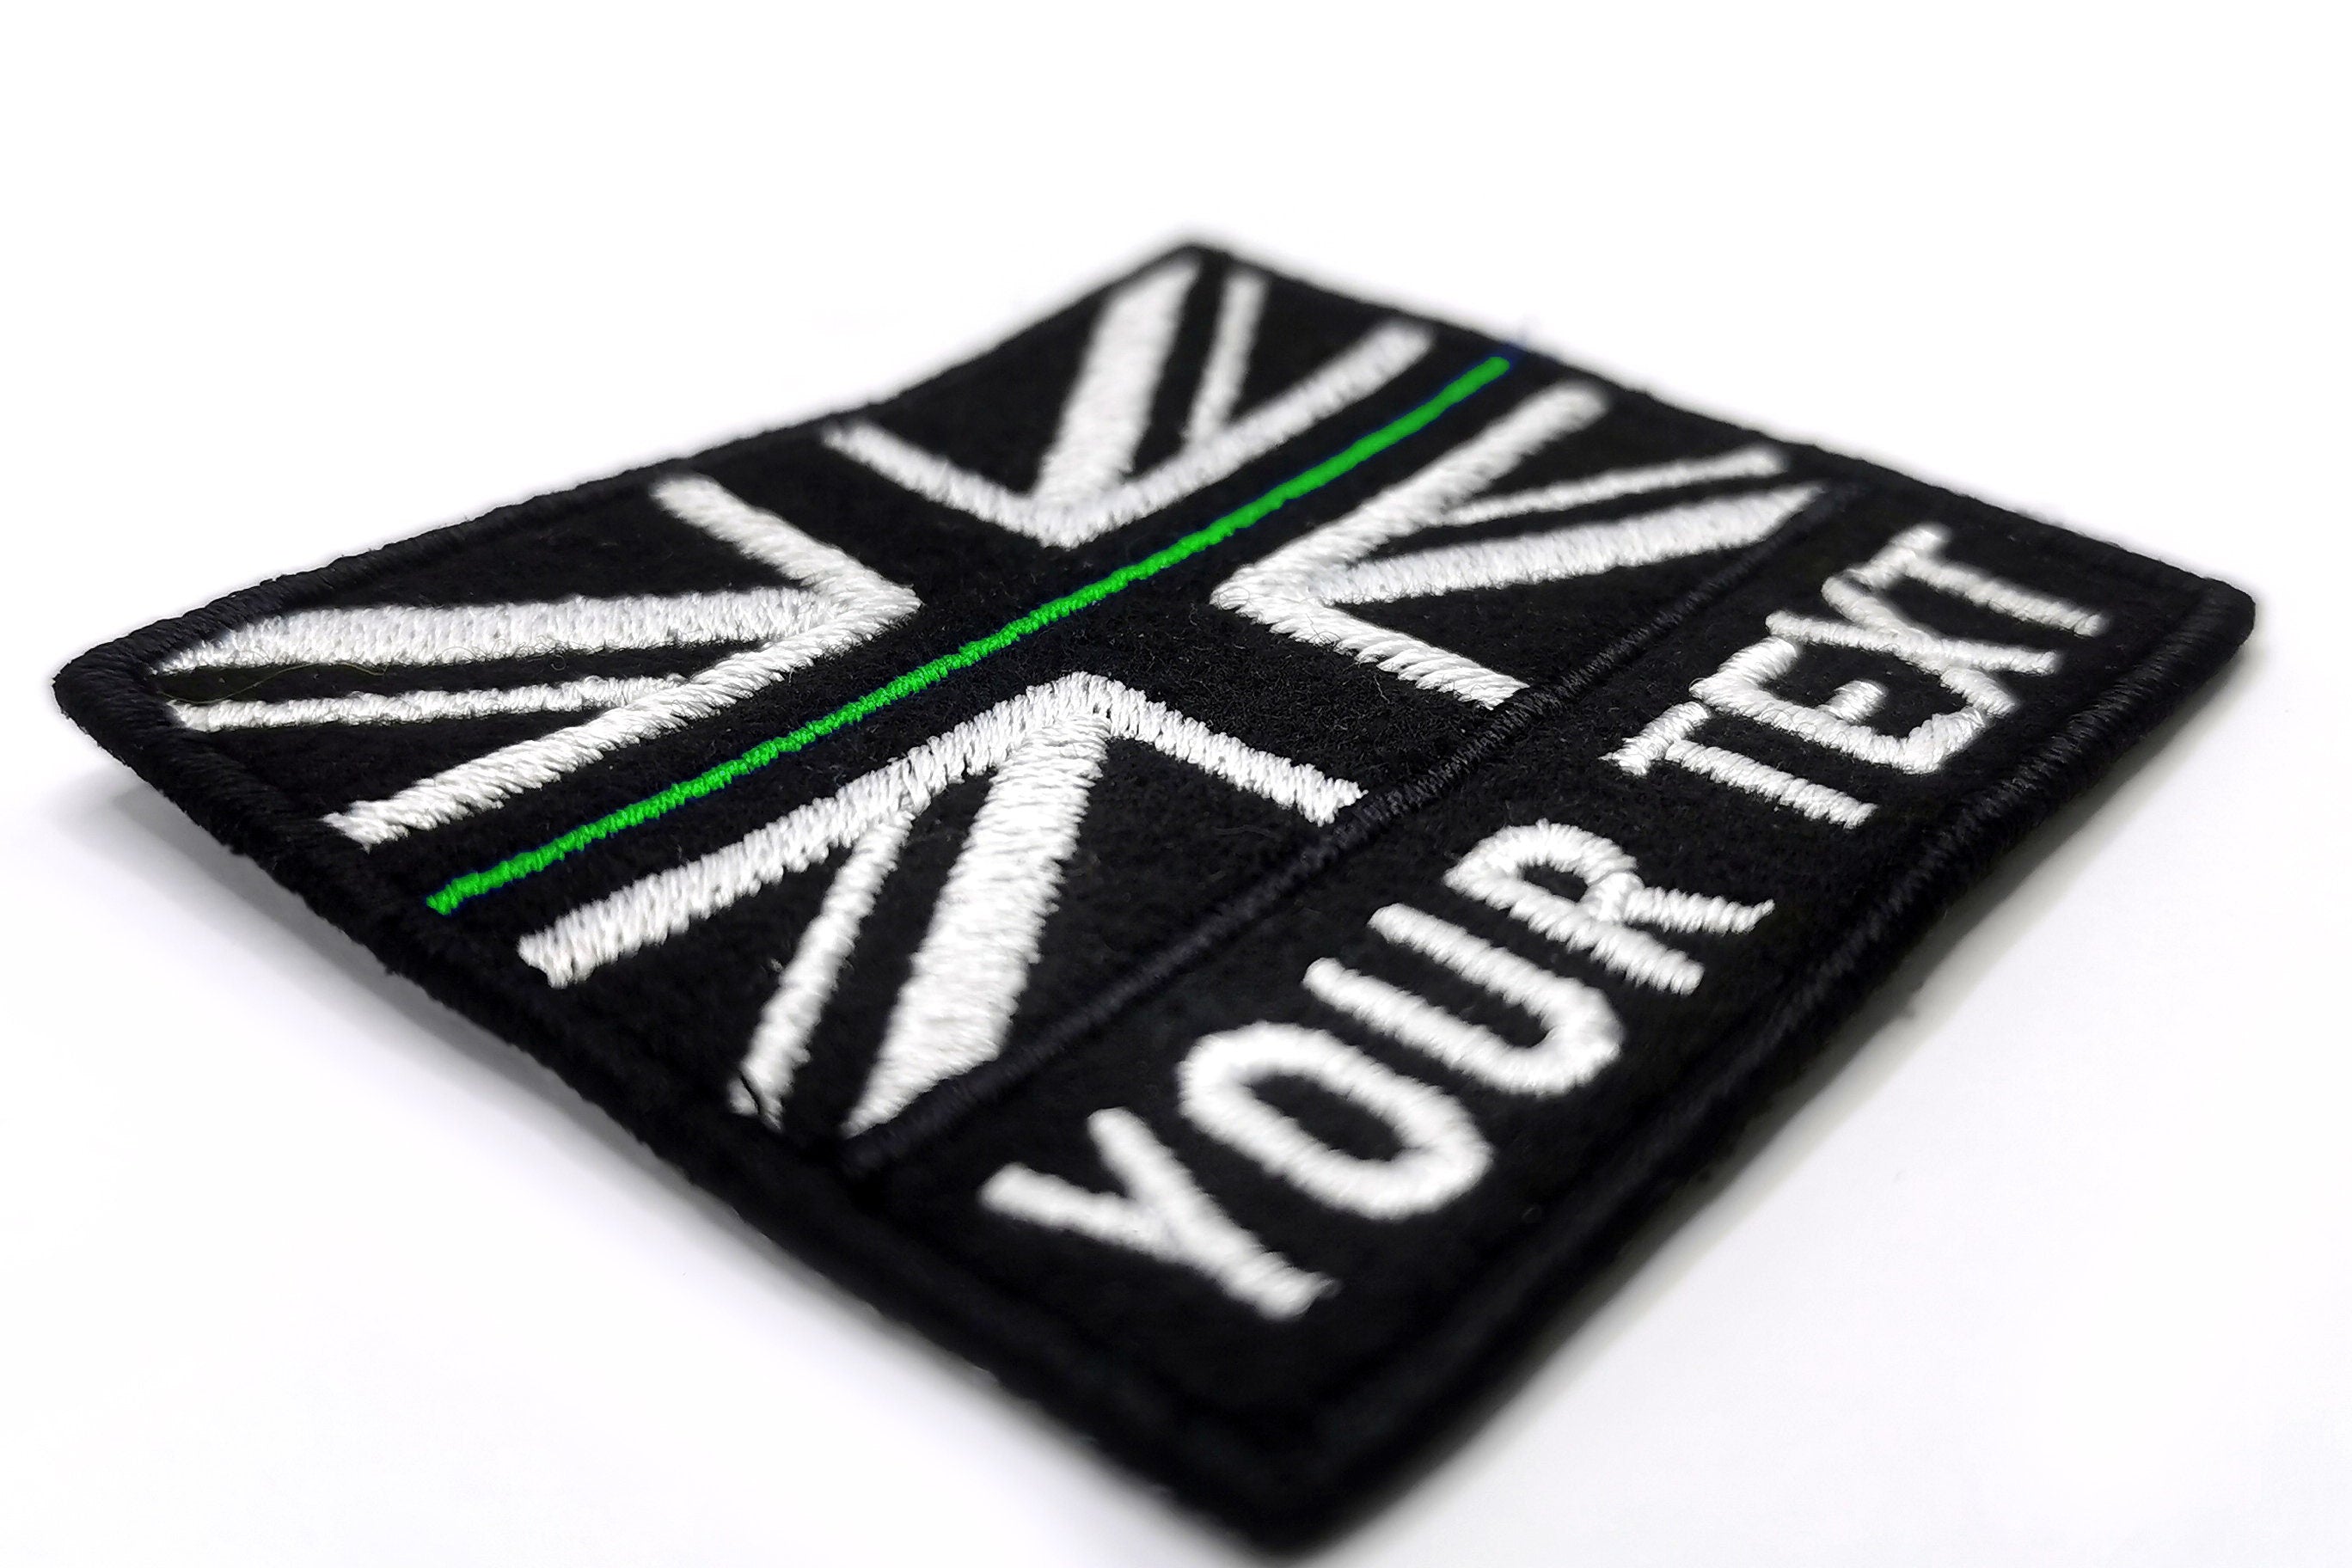
Velcro / Hook-and-Loop Patches: The Tactical Choice
Velcro patches come as a two-part system. The soft loop side is sewn (once) onto your garment as a permanent panel. The stiff hook side comes pre-attached to the back of each patch. Press the patch onto the panel and it stays put; peel it off and swap it for another in about three seconds.
That swap-ability is the entire point. Velcro is the standard backing for tactical vests, plate carriers, airsoft kit, and morale-patch collectors who own a dozen designs and want to rotate them. Plenty of UK reservists, paramedics, and police officers use velcro panels to switch between operational and unit patches. It's also genuinely useful for ordinary buyers who want to use the same jacket for different events.
The downsides are cost and aesthetic. A velcro-backed patch costs us roughly £1 more to make than its sew-on equivalent because there are two material layers instead of one. The hook side wears out after roughly a thousand cycles of attaching and detaching, which sounds enormous but matters if you're swapping patches daily for years. And the chunky two-layer thickness looks less refined than a clean sew-on edge.
For tactical kit and modular gear, none of those drawbacks matter. For a denim jacket you want to look sharp, they probably do.
One UK-specific note: velcro morale patches for civilian use are entirely legal here. We make them regularly for reservists, hobbyists, airsoft teams, and collectors. We won't reproduce active-service insignia, official rank markings, or anything that would impersonate UK armed forces — that's a separate compliance line we don't cross.
→ Browse our velcro custom patches
Decision Matrix — Pick the Right One
If you're still hovering between options, run yourself through the decision tree below.
- Will the garment be washed weekly or industrially? → Sew-on.
- Is this a gift, a one-off, or a project for a beginner? → Iron-on.
- Will you want to swap patches around different garments? → Velcro.
- Is the fabric leather, vinyl, or smooth nylon? → Sew-on (iron-on won't bond).
- Is the patch going on a uniform, scout badge, or workwear? → Sew-on, almost always.
Or by application:
| Application | Best Backing | Why |
|---|---|---|
| Denim jacket (keepsake) | Sew-on | Survives years of wash and wear |
| Backpack / tote bag | Iron-on | Easy, decorative, light wash |
| Tactical vest / plate carrier | Velcro | Swap morale patcustom patchesches as needed |
| Scout / cadet uniform | Sew-on | Heavy wash + tradition |
| Work apron | Iron-on + corner stitch | Combo for everyday safety |
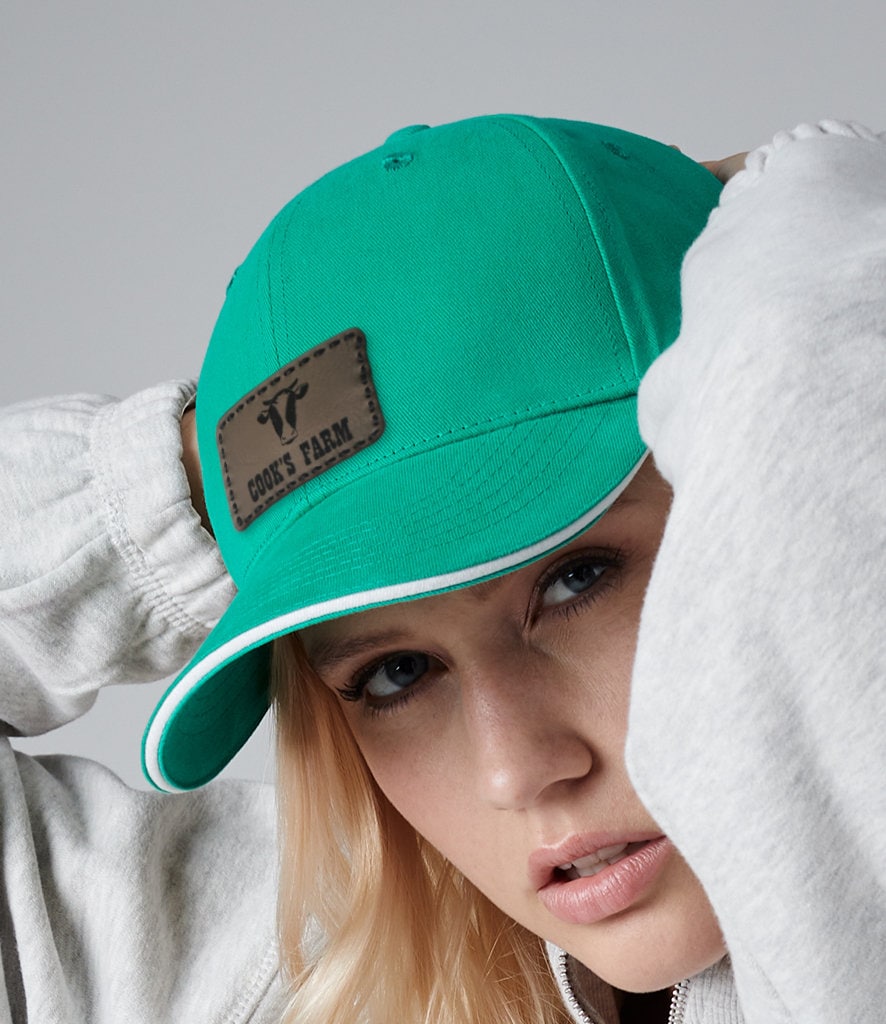
| Baseball cap | Sew-on (or stitched-in) | Curved surface needs flexible attachment |
| Bandana / scarf | Iron-on | Decorative, light handling |
| Leather jacket | Sew-on only | Iron-on heat damages leather |
| Children's clothing | Iron-on | Fast, low-skill, replaceable |
When buyers ask us "but which would you recommend?", the honest answer is: most people end up wanting sew-on quality on iron-on ease. That's why the iron-on-plus-corner-stitch hybrid has quietly become the most common finish we ship.
How to Apply Each Type (Step-by-Step)
Iron-On Application
You'll need an iron (no steam), a flat heat-resistant surface, and a tea towel or pressing cloth.
- Set the iron to cotton (around 200°C) and turn off the steam.
- Lay the garment flat and position the patch where you want it.
- Cover the patch with the pressing cloth.
- Press the iron straight down — don't slide it — for 30 seconds with firm pressure.
- Let it cool for two minutes, then test a corner. If it lifts, press again.
The most common mistake is not pressing hard enough. The adhesive needs heat and pressure to bond — light contact won't do it.
Sew-On Application
If you can sew a button, you can sew a patch.
- Choose a thread — match the patch border for an invisible finish, or contrast deliberately for a visible one.
- Pin the patch in place with a single safety pin to stop it shifting.
- Use a blanket stitch or whip stitch around the entire border, roughly 3mm in from the edge.
- Keep stitches small (3-4mm apart) and consistent.
- Knot off on the inside of the garment.
If sewing isn't your thing, drop the patch and garment at a local tailor — most charge £3-5 per patch and have it back to you the same week.
Velcro Application
The trick with velcro is that you only sew once.
- Sew the loop (soft) side to your garment using a standard machine stitch around the border. This becomes a permanent panel.
- Press patches with hook backing straight onto it — no further sewing.
- To swap, peel off and replace.
- Buy spare loop panels if you want to add velcro zones to other garments.
Other Backing Options (Quick Mention)
Iron-on, sew-on, and velcro cover most patch orders, but a few other backings exist for specific jobs.
Magnetic backings use a small embedded magnet plus a matching one inside the garment — used for hospital, hospitality, and uniform applications where pinning or stitching isn't allowed. Adhesive backings are temporary peel-and-stick (think conference stickers); they don't survive a single wash but are useful for short events. Self-adhesive polyfix is a newer alternative — a permanent adhesive layer stronger than iron-on, often used for promotional kit.
If your project doesn't quite fit the main three, our full backing guide covers all six in detail. Or message the workshop and we'll suggest the right fit — we'd rather steer you to the right backing than ship the wrong one.
SugarGecko Offer Summary
We make all three backings — and the rarer ones — in our Coventry workshop. The artwork stays the same; you just choose the finish at checkout. A custom design with iron-on backing, a second batch with sew-on, a velcro version for a tactical vest — same patch, three uses, one upload.
Every order ships with Free UK Standard delivery in 2-3 working days, including a per-piece quality check before it leaves the workshop. If you'd like a hybrid (sew-on with extra durability, or iron-on plus a velcro version of the same design), just mention it in the order notes.
→ Order Your Custom Patch — Any Backing
Frequently Asked Questions
Can I use iron-on patches on leather?
No. The heat from a household iron damages leather permanently, and the adhesive doesn't bond to the surface anyway. For leather jackets, bags, and accessories, always choose sew-on.
Will iron-on patches survive a washing machine?
Yes, with care. Wash at 30°C, turn the garment inside out, and avoid tumble drying for the first few cycles. You can expect 15-25 wash cycles before the edges begin to lift. For longer life, iron the patch on and add a few corner stitches.
Can I add velcro to a sew-on patch?
Yes — we offer hybrid versions where the patch face is finished as a sew-on, with a velcro panel added behind it. Useful if you want a clean stitched edge but also the swap-ability of hook-and-loop.
Are velcro patches expensive?
Slightly. Expect to pay around £1 more per patch than the sew-on equivalent because there are two material layers. For modular kit and morale-patch collectors, that cost is usually well worth it.
Do iron-on patches work on nylon jackets and waterproofs?
Not reliably. Most nylon and waterproof fabrics can't tolerate the heat needed to activate the adhesive, and the smooth surface gives the glue nothing to grip. Sew-on is the right choice for technical outerwear.
How long does each backing take to apply?
Iron-on: about 30 seconds plus cooling time. Sew-on: 10-20 minutes by hand, 2-3 minutes on a machine, or £3-5 at a local tailor. Velcro: one-time install of the loop panel (5 minutes on a machine), then three-second swaps from then on.
Need help deciding? Email the workshop with your project — we'll suggest the right backing before you order, no upsell, no pressure.